Mother’s Day Craft | Make A Button Heart Diorama
Each year, my mother and I celebrate Mother’s Day over lobster rolls. It’s a yearly tradition I look forward to since it combines two things I absolutely love and enjoy—traditional New England food and time spent with my mom. She has always been creative about finding quaint and charming eateries in New England, a passion that […]
Coffee By Design | Portland, Maine
Photo Credit : Katherine KeenanEach year, my mother and I celebrate Mother’s Day over lobster rolls. It’s a yearly tradition I look forward to since it combines two things I absolutely love and enjoy—traditional New England food and time spent with my mom. She has always been creative about finding quaint and charming eateries in New England, a passion that has paid off in a multitude of warm memories and good food.
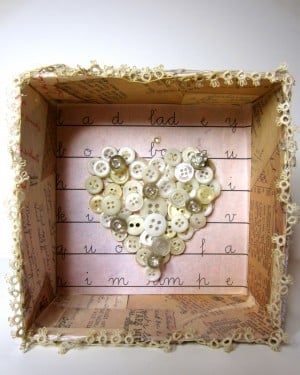
That being said, I typically don’t make handmade gifts for my mom on Mother’s Day—this is partly because we have our Mother’s Day ritual of enjoying lobster and partly because you can only lavish someone with so many handmade gifts. However, when looking over a number of crafts and artwork I’d made in the past, I came across these button heart dioramas which are a sweet, simple gift for a special mom. Button heart dioramas are buttons glued into a heart shape, surrounded by ephemera matching the color or tone of a room, and then embellished for display. They can be made to fit almost any size space you need, whether it’s a wall space or shelf. Button heart dioramas are contained within paper mache boxes and lids which can be easily found at craft stores.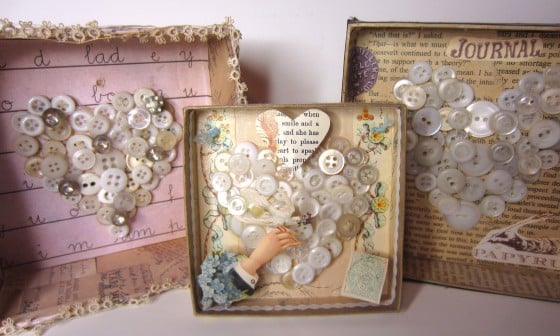
Materials to Make a Button Heart Diorama:
- Paper mache box or lid (depending on how deep you want the picture)
- Mod Podge
- Paintbrush
- Paper ephemera (i.e. patterned papers bought at a craft store, old stamps, or copyright-free images downloaded from internet )
- Scissors
- Ribbons or wire for hanging
- Mixed medium items to add detail to your diorama— i.e. lace
- White and ivory colored buttons
- Newspaper to cover your working space (optional)
- Regular glue or hot glue
Directions to Make a Button Heart Diorama:
- Gather your materials.
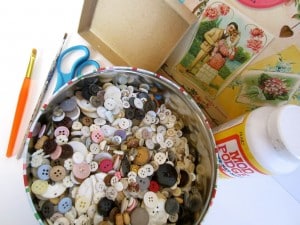
- Cut plain or patterned paper to fit the outside edges of your diorama. Use your paintbrush to apply Mod Podge to the paper and then glue them onto the edges of the diorama. You can also apply a thin layer of Mod Podge over the paper to seal it and make it more durable.
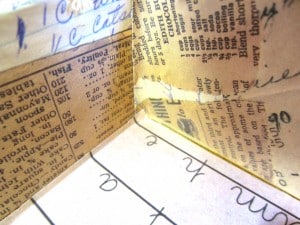
- Now cut paper to fit the inside edges of your diorama and repeat the step with Mod Podge as above.
- Next, use regular or hot glue to make a heart shape in the center of your diorama. If you are not good at free hand drawing, you can trace a heart shaped cookie cutter or trace a downloaded heart from the internet.

- Place your buttons in the heart shape, making sure they are securely glued. You will need to apply 2-3 layers of buttons to get the full effect, so you may need to wait between layers to allow glue to dry (if using regular glue).
- Once your heart is complete, add ephemera as needed to embellish the space around it.
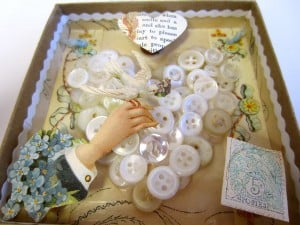
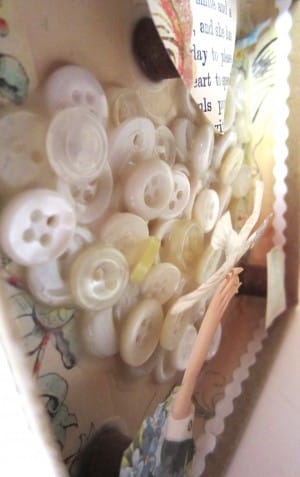
- For a 3D effect you can use bottle caps, wood plugs, buttons, or other small items to glue your pictures on before adding them to the diorama.
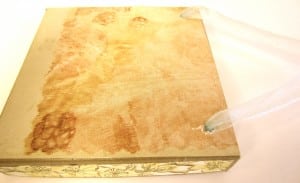
- Last, there are many ways to apply a hanger to your diorama. The simplest way is to poke two holes through the back of your diorama to hang a ribbon through. You can also glue a metal hanger on the back.






Love yours! Here’s my version: http://www.zibbet.com/AllAboutTheButtons/artwork?artworkId=34316
lindo projetos
amo botões!
This looks like a really fun project and I think my mom would like it too. I may get out my button box and give it a try. Thanks for sharing you lovely projects!